
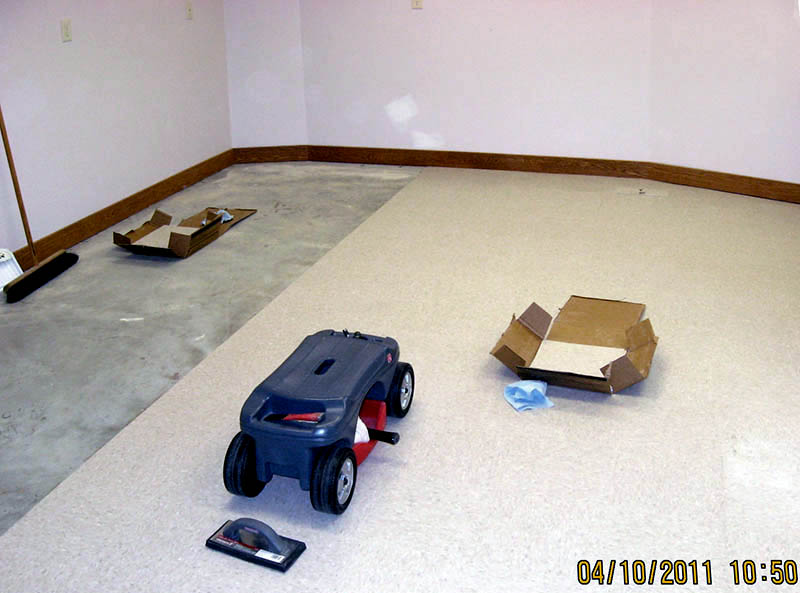
Mike began laying floor tile in the shop – slow going, but steady progress.
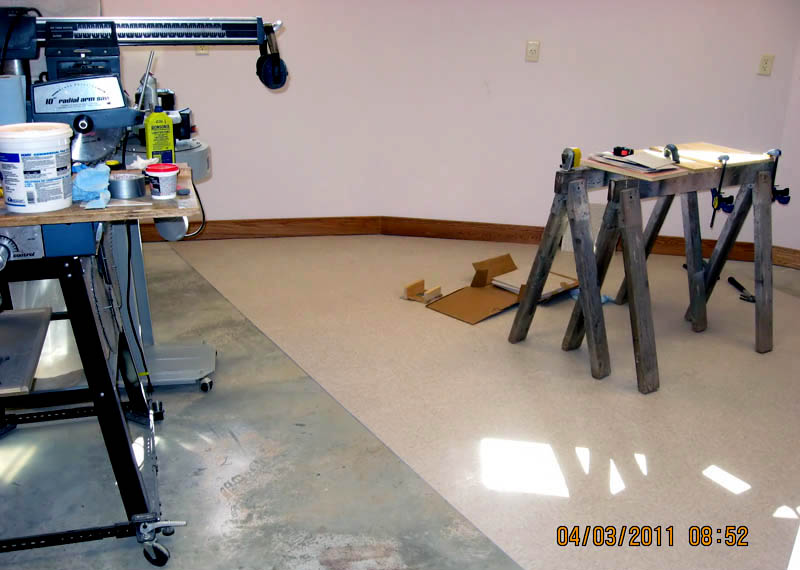
Tiling the shop floor is nearly complete. It takes two hours to clean and mark 30 square feet of concrete floor, cut the end tiles to meet the walls, spread the adhesive, and lay the tiles. The shop has 395 square feet of floor space.
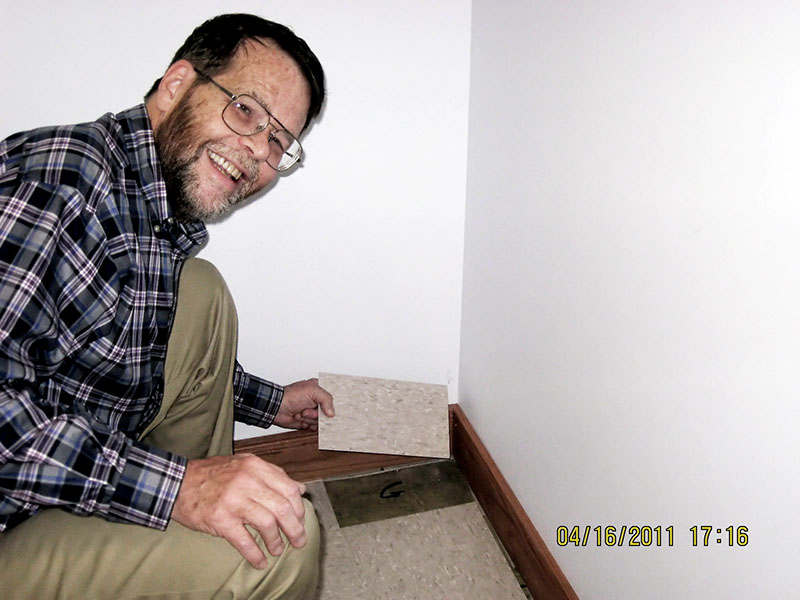
The shop floor is tiled! Here's Mike placing the final piece in a corner of the shop closet.
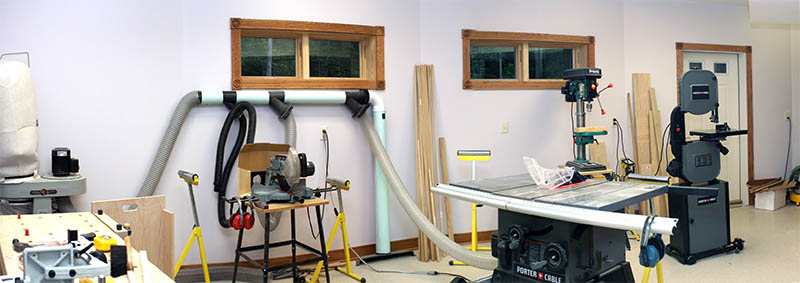
Mike is making good progress setting up the workshop. The woodworker's bench, purchased nearly a year ago, is assembled and in use. A new (since our former house) table saw and bandsaw add much functionality to the shop. The dust collector inlet manifold secured to the wall is a big improvement over the former arrangement.
With help from Louise and Miranda, Mike built and installed a framed pegboard that ultimately will hold many of the shop tools. We had one of these in our former shop, but this one is nearly twice as large.
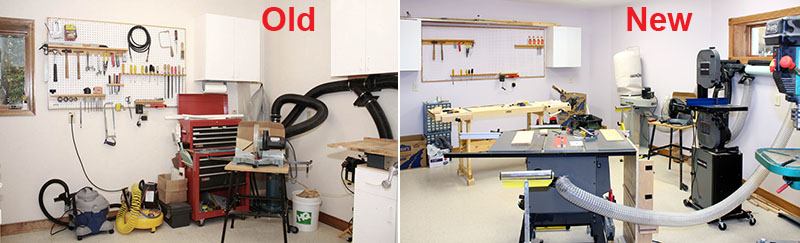
This photo compares our small former shop with the spacious new one. out of sight behind the photographer is a door outside to a concrete patio, another door to the yard equipment room, and a double-door closet for painting supplies.
Mike and Louise organized the remaining cartons of things to be unpacked. Here's a photo of the shop with most of the "stuff" put away. More white wall cabinets are out of sight to the left. We bought and assembled base cabinets, and placed them beneath the pegboard.
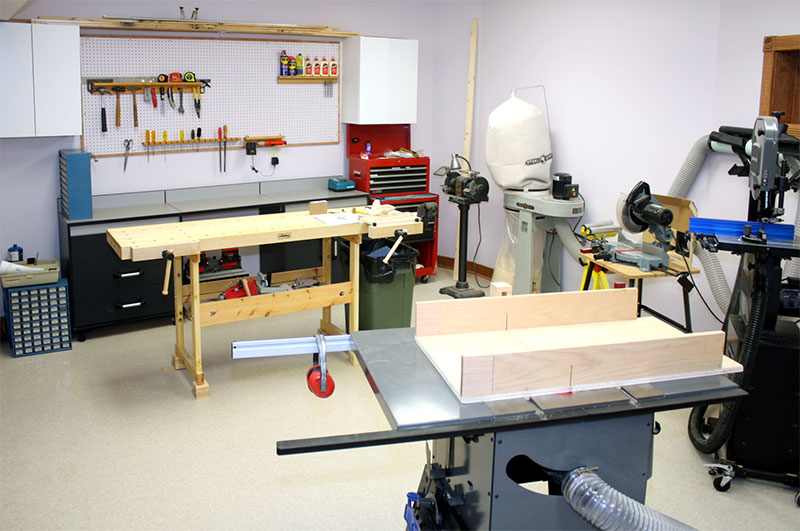
in 2011 Mike built the "sled" resting on the table saw in the photo above. A sled holds wood to be crosscut square to the blade, and is easier to use than a miter gauge.
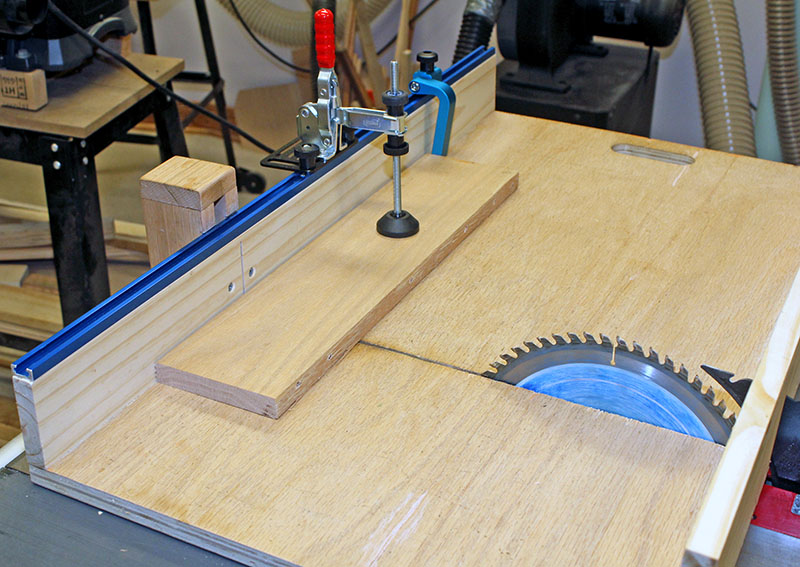
But the sled had a few shortcomings – holding the wood to be cut was difficult, and he had to clamp a scrap of wood to the fence as a stop to cut multiple pieces the same length.
In 2021 Mike rebuilt the sled, shown here. He added a metal T-track on the front fence to accommodate a toggle clamp to hold the work piece, and a flip-down metal stop.
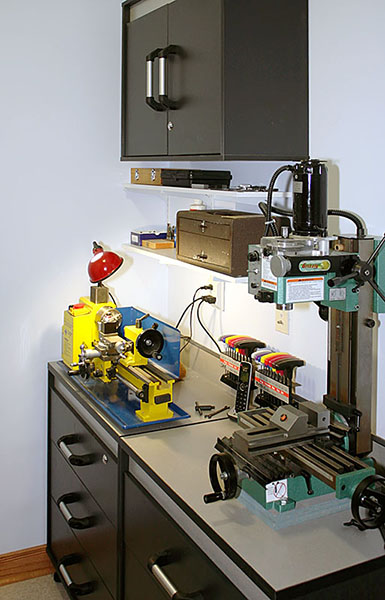
We installed two three-drawer base cabinets, a wall cabinet, and a couple of shelves in the machine shop, then Mike set up the lathe and milling machine, and put away the many accessories that go along with them.
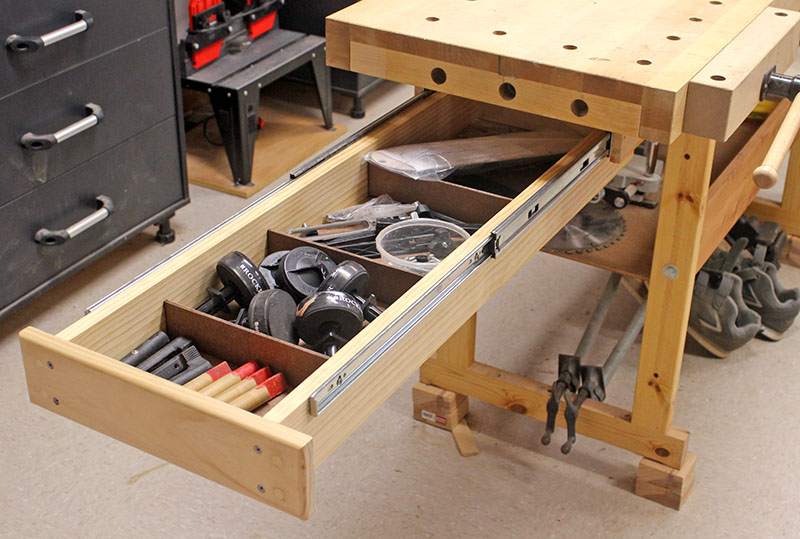
Mike made a 3'-long drawer for the workbench to hold extra table saw blades and various shop accessorits. He used the 28" drawer slides left over from the walnut desk we made for his office.
The drawer holds items that were scattered elsewhere in the shop, including "dogs" to hold workpieces clamped in the vises, "cookies" that elevate workpieces above the bench top for sanding or painting, and various accessories for the table saw.
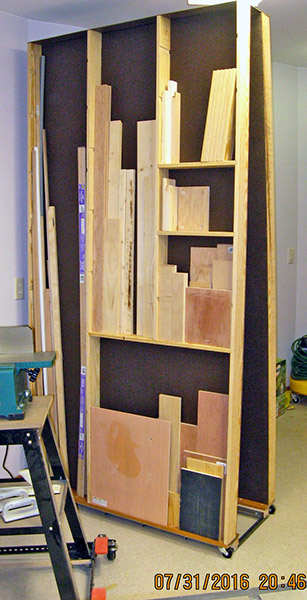
After five years of leaning boards against the shop walls, we decided a lumber rack was in order. Mike designed a narrow A-frame with three 15"-wide bays on each side. The rack is tall enough to store 8' plywood panels inside, resting on steel angle channels that clear the floor by ½"
The lumber rack rolls on 2" casters, and clears the ceiling light fixtures by about 1½".
|
|
|
Updated May 23, 2023